|
#1
 18-06-2009, 02:24 PM
|
|||
|
|||
|
well i just installed my new w/m injection kit, its from Aquamist out of england and supplier to WRC cars.
Anyways this is the layout of parts  1. first step is to remove the sprinkler resorvoir and thats just 2 bolts and unclip sensor plugs (if its full you will have sprinkler fluid all over the place) 2. Clean out the sprinkler container and drill a hole in the bottum of container, insert the bung from the kit and screw it tight (rubber oring will pressure around hole and tighten up (remember to clean out tank after drilling, so no plastic pieces are left inside). 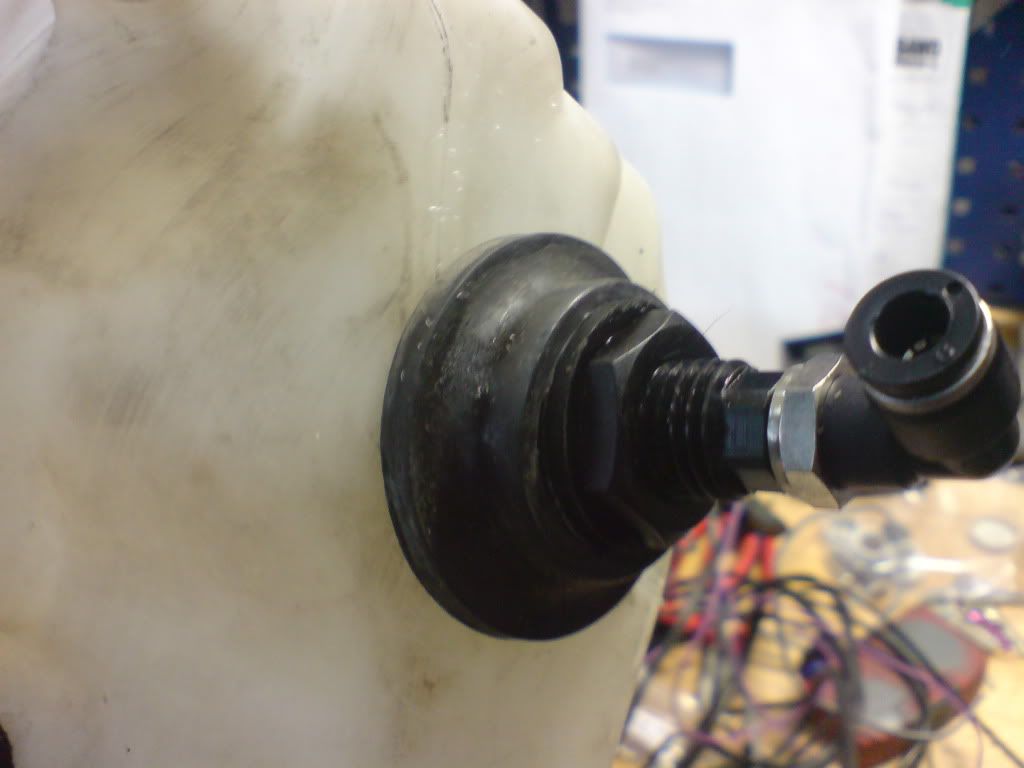 3. install the container again, you are done with that part. 4. next step is to install the relay, i choose to install it along with the buttom nut that fits the container in place, that way its hidden completly and its nice place to hide and draw wires to battery right above cooler. (hard to see, but the relay is their. 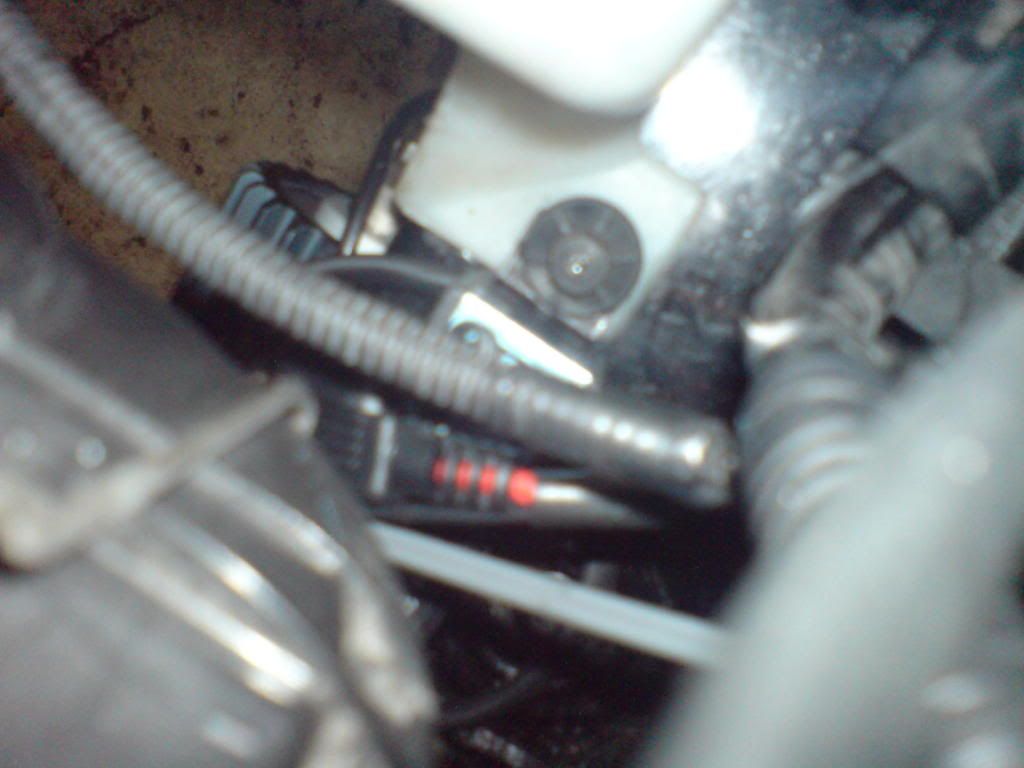 5. install the pump, it needs a little filter in between tank and inlet on pump, install that with big transparent hose included in kit, easy tighten up procedure and just clip the lines in place. 6. insert the transparent thin hose from outlet of pump and pull it up long side the wires from relay in step 4 and strip it together and let it go down at the battery, its possible to get it down without it being visible. 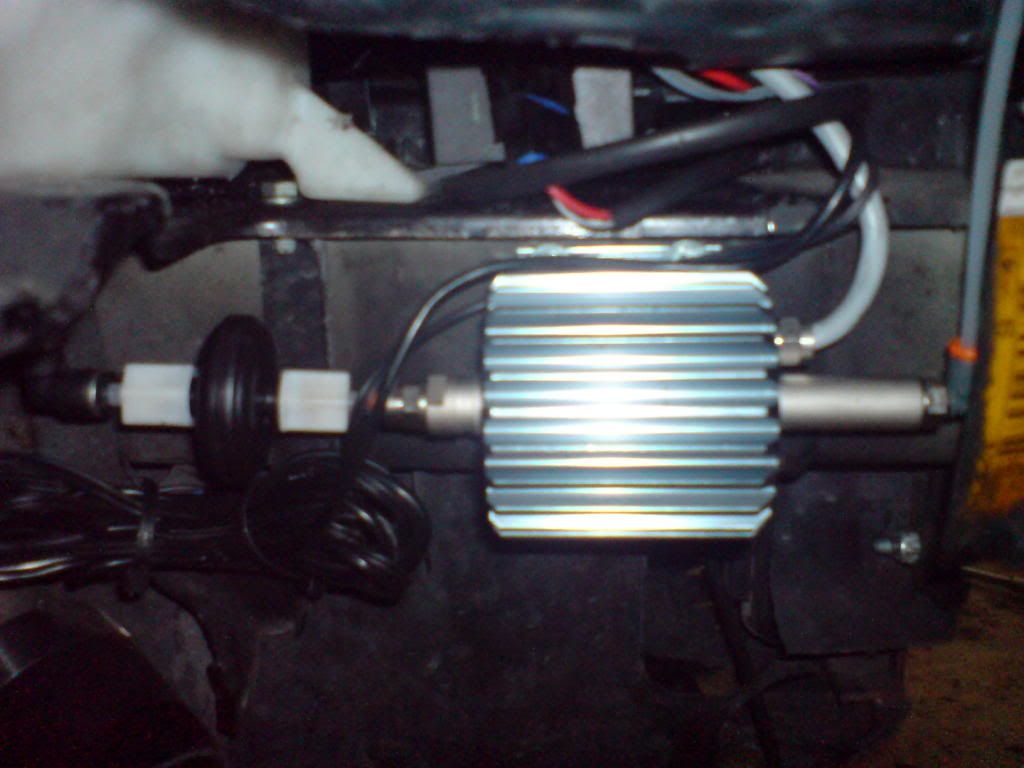 7. Install the cable shoes on red and black wires, and the grey wire as well. the purple wire needs to be connected to ignition power, i had a relay already in engineroom getting ignition power, so i just installed in that relay (sorry no pics). 8. The adjustable pressure switch i mounted underneath the bracket that holds the oilpin, a vacum hose from intake manifold to that switch and install grey wires on that and mount the rubber isolating piece on switch - its factory set at 10psi, i adjustet it to turn on at 15psi 1/4 to the right, easy. 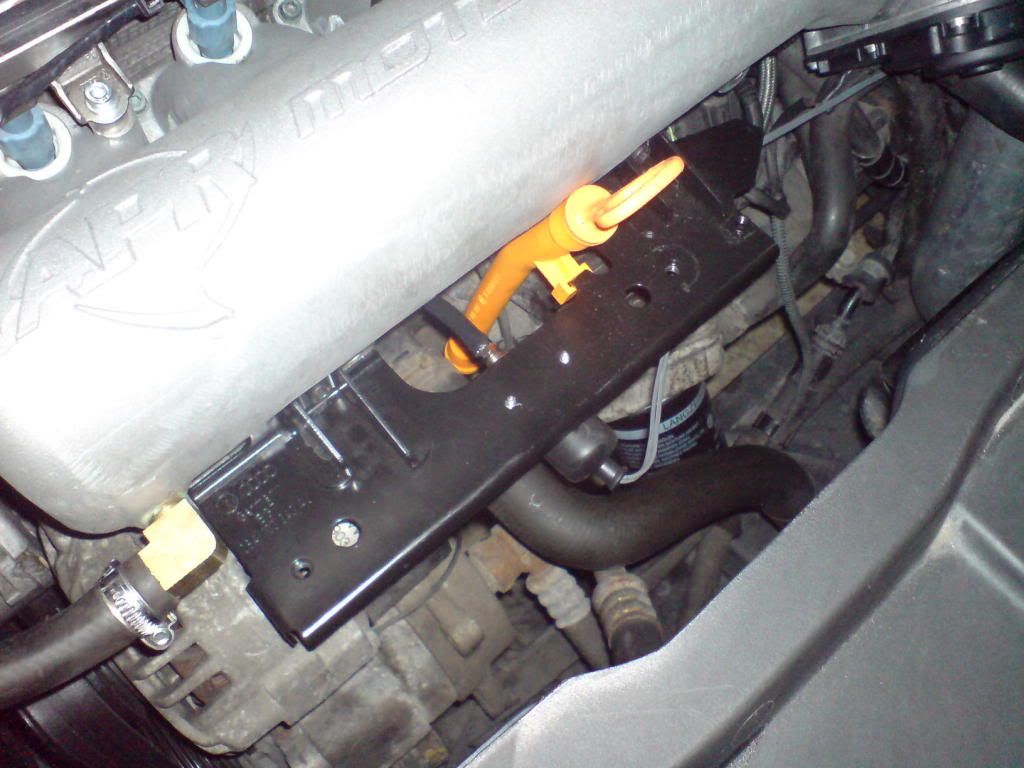 9. now take out the boost pipe going to intake manifold, and weld a bung on the pipe where you want the water jet fittet, so it has more grip when you install the jet, i used loctite around the jet and tighten it up - i also choose to install it right after IC outlet like recommended by Aquamist for better misting. 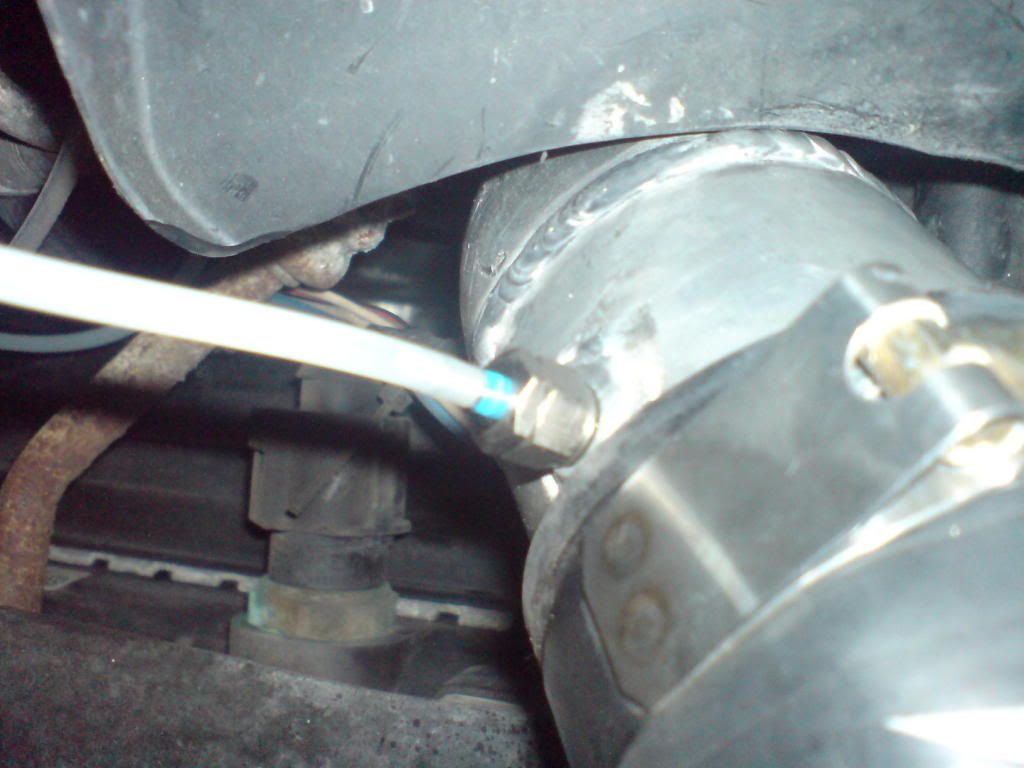 10. know install the red and black wire on battery (+ -) Have a beer :beer: and enjoy a nice done and sleeper installation. This is the overview of installation diagram with the kit.  And this is how the different water jets acts and flow - i installed the 0,6mm.  Next up i also hade some IC piping redone, and the other end tank that was plastic before, i had remade and painted the pipings, to give sleeper look again. 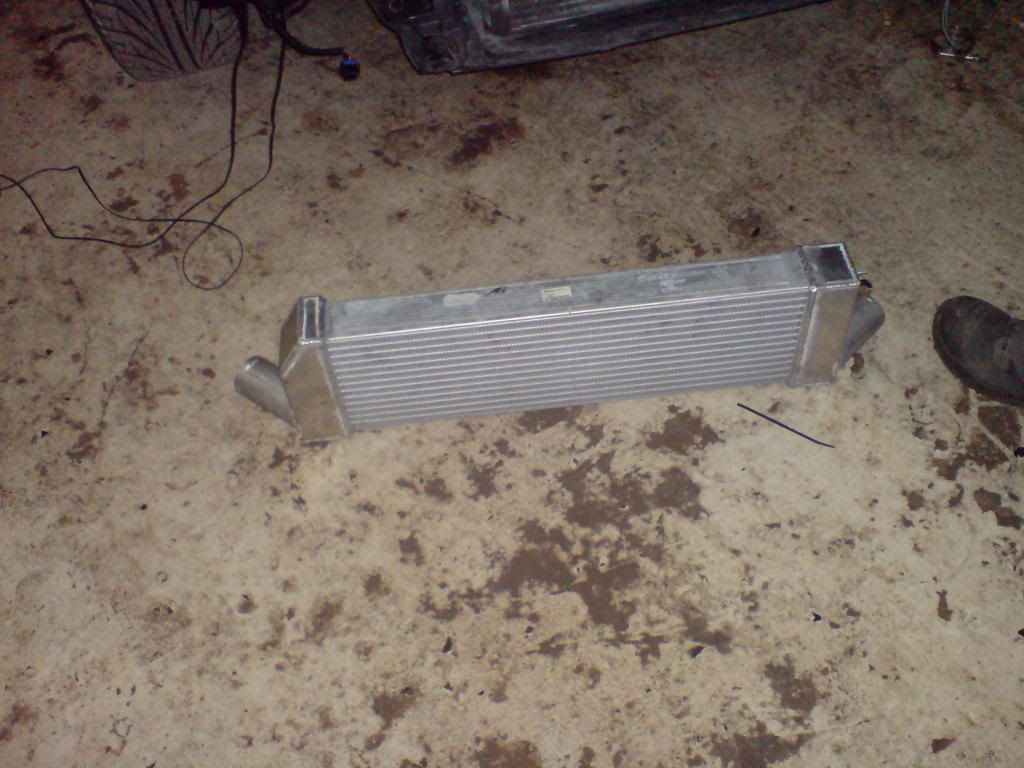 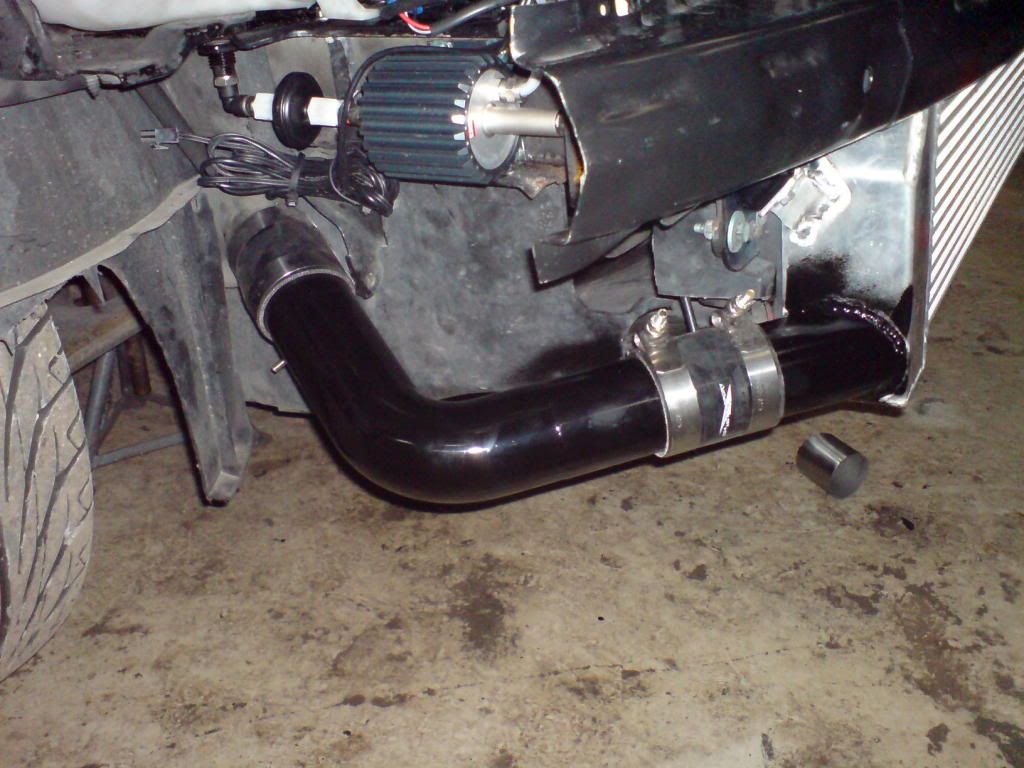  Anyways, hope it was educational and inspiration. Oh oh i just forgot, remember to fill resorvoir with 50/50 water and Methanol. Drive feeling after installation clearly showed that the car became an even more wild beast after 15psi, it kind of felt like extra kick :P - no timing adjusted as of yet and i havent had the car mapped after the install yet, but will be done in july. 
|
|
|


 Threaded Mode